A lot of photographers find group portraits quite daunting. There are a lot of people to organise and control and you are usually limited for time. Sometimes people can be… uncooperative. Here are some tips to make things easier.
1 Be Assertive
The one absolute imperative with group photos is to keep control of the process. This doesn’t mean being needlessly bossy. Rather make sure everybody knows what you want them to do and to make sure they listen to you. It doesn’t mean you can’t be friendly or the photos can’t be fun. But always remember, often you will have a lot of work to do and fixed amount of time to do it in.
In my experience, the more efficiently you work and the clearer you are in your instructions the easier it is to get people to do what you want. The process will then be faster and smoother for your clients. If you are at an event, more often than not guests do not see the photography as their main concern. So, if you take too long or don’t speak up you tend to lose people’s attention. It then gets progressively harder to get people to cooperate.
As a photographer you need to make sure you are the centre of attention during group portraits so everyone looks at the camera when you make an exposure. I prefer to call to people to look at the camera and then countdown to the exposure, 3-2-1. If you are too quiet or not assertive enough people can mistake that for you not knowing what you are doing. Be bold and don’t show any nervousness or fear, even if you are not that experienced.
2 Keep rows as short as possible
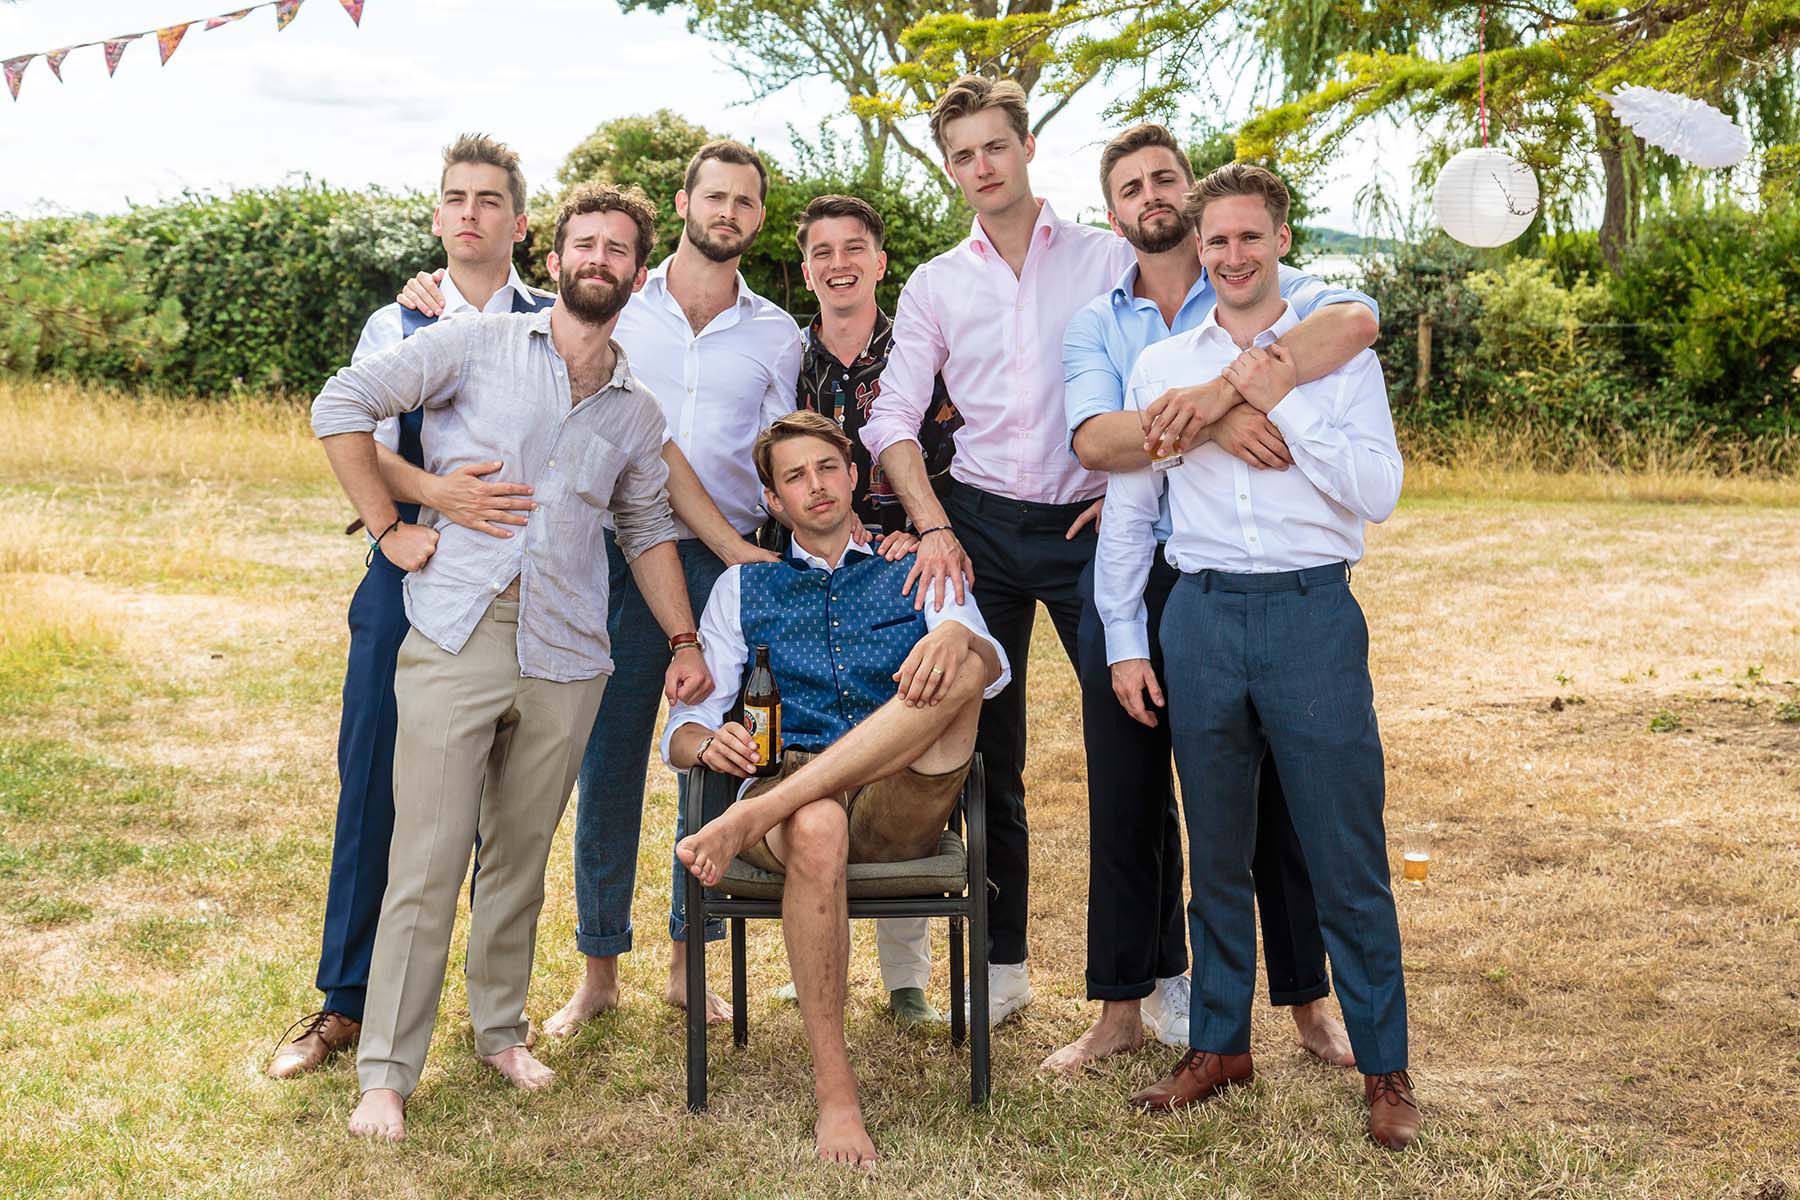
Nothing looks worse than a long thin line of people standing shoulder to shoulder. As groups get larger it gets more important to position people so rows don’t get too long. Your aim is to fill the frame with people as much as possible. Tell them to turn so their shoulders are at a 45 degree angle to the camera and then move them together. This should shorten the rows significantly. The other method is to have people ‘zigzagged’ So that each person is forward or back and their shoulders overlap. Usually I put the shorter guests at the front – but be diplomatic when asking people to move forwards or backwards!
3 Use your Motorwind
Anyone who has ever taken a portrait knows how frustrating it is when your sitter blinks. In group portraits, as the number of sitters goes up so do the chances of someone blinking. To counter this it is vitally important to take multiple frames, preferably with a fast motorwind. This maximises your chances of avoiding blinks. It also means if you do have a frame you particularly want to use but someone has blinked, you can paste in the eyes from a shot just before or after in photoshop.
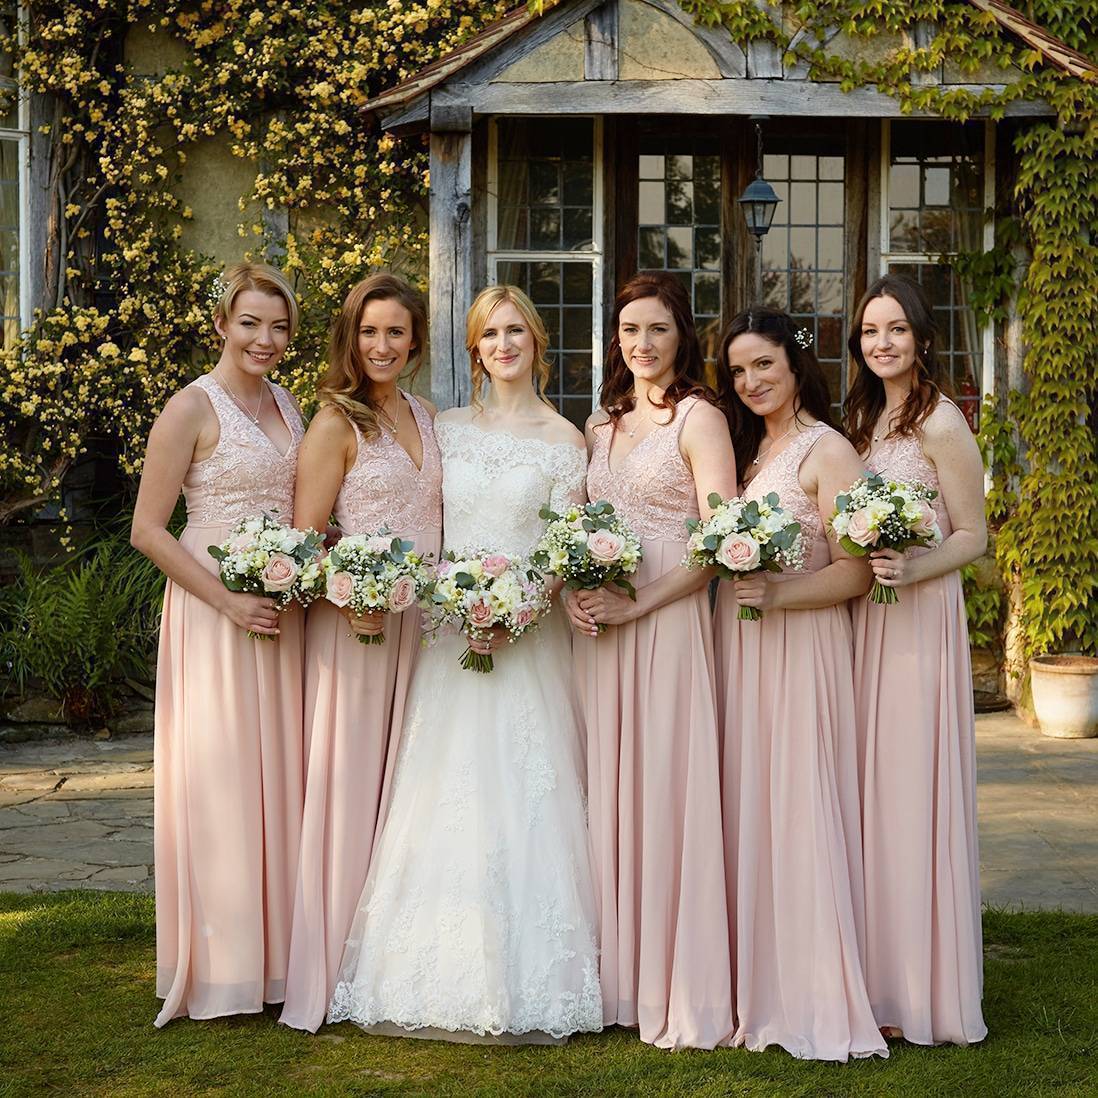
4 Stop Down your Lens
If you are shooting a portrait it is common to open the lens to separate your subject from the background. With large group portraits in multiple rows you should always try and keep everyone in the plane of focus by stopping down the lens to F8 or F11. This also gives you the advantage that you can be bolder in how you arrange people. You can add depth and interest to the group without worrying about focus issues. By all means open up more for couple’s shots, but when you shoot groups be conservative. If you have a large amount of group photos to get through, it can be the busiest and most pressurised part of your day. Don’t make the mistake of attempting something too technically demanding as mistakes can often not be rectified later!
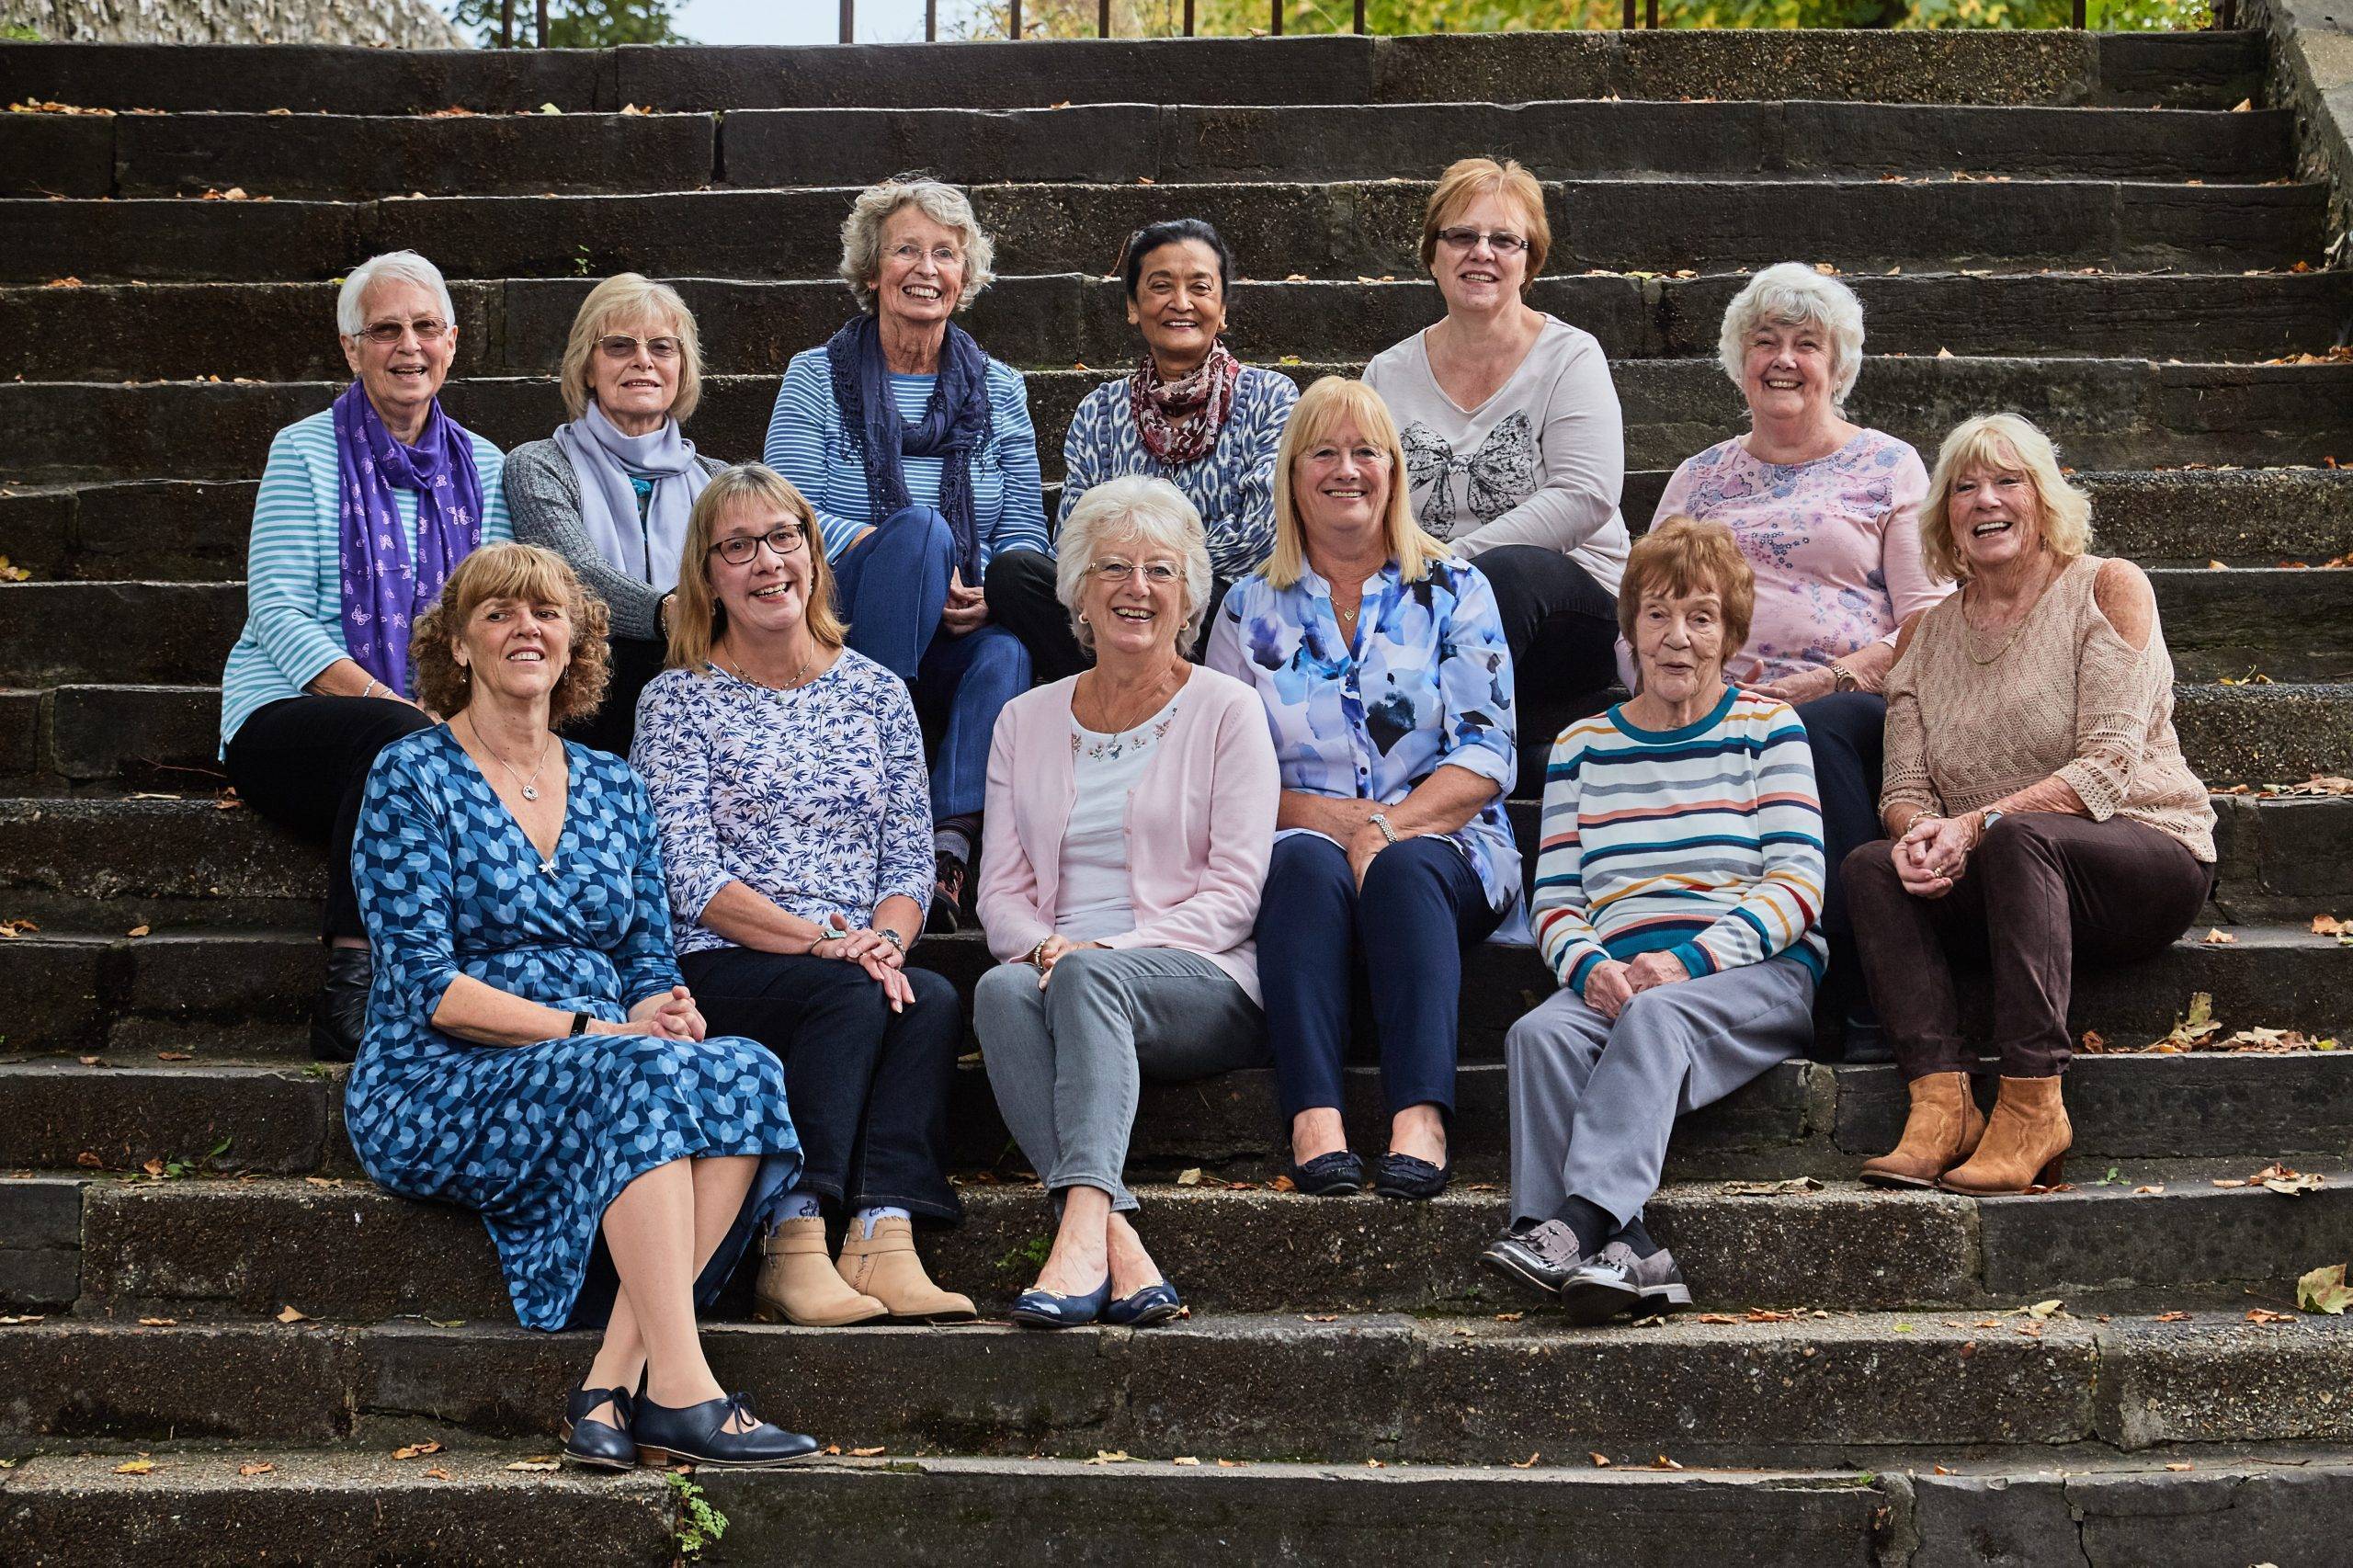
5 Find a location with split levels or high vantage points

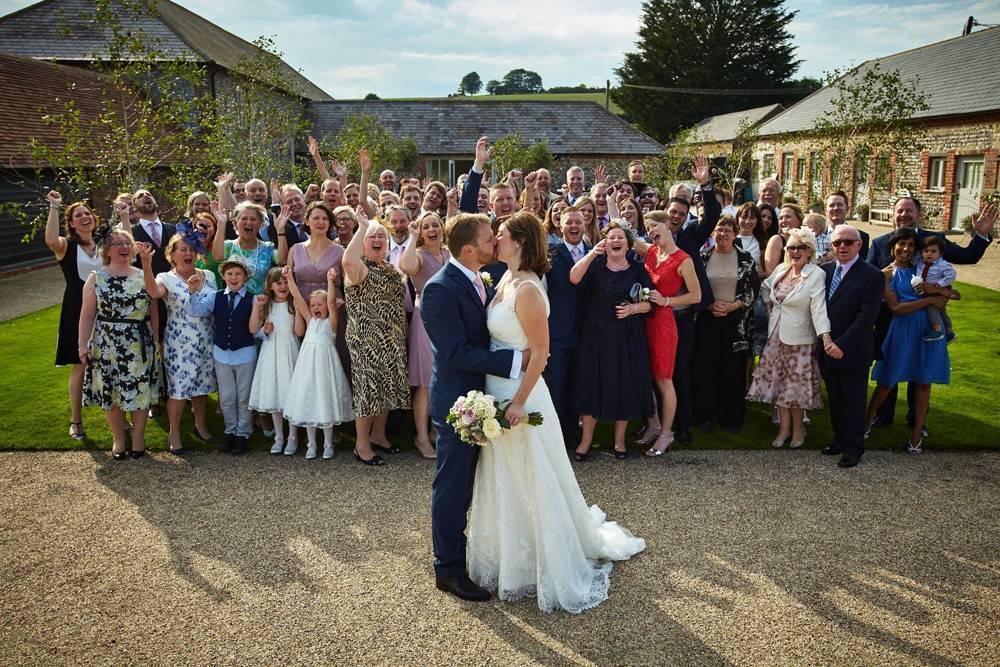
As a group gets bigger, it becomes harder and harder to arrange it well if you only have one level you can put everyone on. In these situations stairs and even slopes can be a godsend. It allows you create a couple of shorter rows rather than one long one. If you can’t do this look for a high vantage point. You can shoot from above and group people closer together that way. If neither option is available at a venue consider bringing a step ladder an use this to create your own vantage point.
The Wrap Up
Groups can often seem daunting to anyone who hasn’t shot a lot of them. If you think of yourself as a documentary photographer most likely you’ll feel much more comfortable observing the action rather than ordering people about! Hopefully following these simple guidelines will help you make the best pictures you can. Remember no-one starts off as experienced. It took me a couple of years to really become as assertive as I really needed to be. It takes time to build up these skills especially if they don’t come naturally. But if you follow these guidelines you will get there sooner rather than later.
Toby